





 Tools for Jira
 Tools for monday.com





When an incident hits, the speed and quality of your team’s response depend less on individual skill and more on how well your response process is defined. When it’s clear and well-documented, your team can easily follow pre-agreed steps that are embedded directly in your Jira ticket as an actionable checklist.
In this article, we share a free incident management template built with Smart Checklist for Jira. We also explain how incident management works in Jira Service Management, how to integrate the template into your existing workflow, and how to continually improve the process.
What Is Incident Management?
 Definition
Incident management is the structured approach IT teams use to detect, respond to, and resolve unplanned events that disrupt or threaten to disrupt normal operations. These events can range from a service desk ticket about a broken integration to a full-scale outage or a cybersecurity incident.
Incident management has two primary goals:
- to restore service as quickly as possible to minimize downtime and business impact
- to capture what happened so the team can prevent similar incidents in the future.
A mature incident management practice covers the full lifecycle of an event: from detection and triage to resolution, post-mortem, and continuous improvement.
How Incident Management Works in JSM
Jira Service Management (JSM) is Atlassian’s ITSM platform that, among other service workflows, supports incident management. It ships with a pre-built, ITIL-aligned Incident Management workflow that most teams use as a starting point and adapt to their own needs.
Here’s how the end-to-end process typically looks inside JSM:
- Incidents enter the system through several channels. Internal team members and end users can submit incident reports through the JSM customer portal. Monitoring tools such as Datadog, PagerDuty, and Nagios can automatically create incident tickets via native integrations. Email-to-ticket rules can catch incident reports sent to a shared inbox. Each incident becomes a Jira work item of type Incident.
- Incident-specific fields collect context. A typical Incident work item includes fields for priority (P1 through P5), severity, impact, affected services, the assigned responder, and a timeline of events. Many teams add custom fields for the Slack channel used for coordination, a link to the Statuspage update, and the post-incident review owner.
- Queues route incidents to the right people. JSM uses queues to give agents a focused view of the incidents they should be working on. Common queue setups include “P1 Incidents,” “My Open Incidents,” “Incidents Awaiting Response,” and “Security Incidents.” Combined with on-call rotations, queues ensure the right person sees the right ticket at the right time.
- SLAs define response and resolution targets. JSM has built-in SLA functionality. You define targets per priority level (for example, P1 response within 15 minutes, P2 within 1 hour), and JSM tracks compliance against those targets automatically. Teams that want to drive SLAs by severity instead can do so with JQL conditions.
- Automation handles the repeatable parts. Most teams configure a handful of automation rules to remove manual coordination work during a live incident:
- Notify the on-call team when a high-priority incident is created.
- Escalate when an SLA is at risk of being breached.
- Post status updates to a dedicated Slack or Teams channel.
- Create a linked Post-Incident Review (PIR) ticket / post-mortem incident review automatically once an incident is closed.
- The PIR ticket includes a standard set of questions to guide the discussion: what happened, the root cause, what went well, and what needs to change.
- Resolved incidents feed into Problem Management. When a PIR uncovers a deeper root cause that needs investigation or remediation, the team creates a linked Problem ticket.
What You Need Before Setting Up Incident Management in JSM
Software and configuration are only half the equation. The other half is the groundwork your team puts in long before the first incident. Without it, even a perfectly configured JSM setup falls apart under pressure, and a response checklist can only do so much if the team behind it isn’t defined.
Key elements to put in place:
- An incident management policy that defines what counts as an incident and who can declare one
- An incident response plan with documented procedures for each incident type
- A defined incident response team with clear roles and backup owners
- Clear SLAs that map to your customer commitments and uptime targets
For a software development company, the incident response team can include a product lead, a dev team representative, security team members, and sometimes legal, depending on the nature of the incident. For example, a purely internal incident that doesn’t affect clients usually doesn’t need legal involved.
Once this foundation is built, JSM becomes the place where the process actually runs. An incident management template adds the missing layer on top: a step-by-step checklist inside each Incident work item. This checklist walks responders through every action they need to take, from initial triage to closing the loop with the PIR.
What Is an Incident Management Template and Why Do You Need One?
Definition
An incident management template is a reusable, structured set of steps that guides your team through the incident response process from detection to closure.
Such templates can have various forms. In this article, we focus on an incident management template for Jira organized as a checklist inside a work item/ticket. Such a checklist can be built with Smart Checklist for Jira – a solution that allows you to standardize processes with reusable, feature-rich checklists.
5 Reasons Incident Management Templates Help Teams
A good incident management template does more than save time. Here are five concrete benefits.
- Consistent response, regardless of who’s on call. When everyone follows the same steps from the checklist, the process no longer depends on which engineer happens to be on shift.
- Faster onboarding for new teammates. Instead of learning the process through trial and error or long shadowing sessions, new hires can join a live incident and use the checklist as a guide.
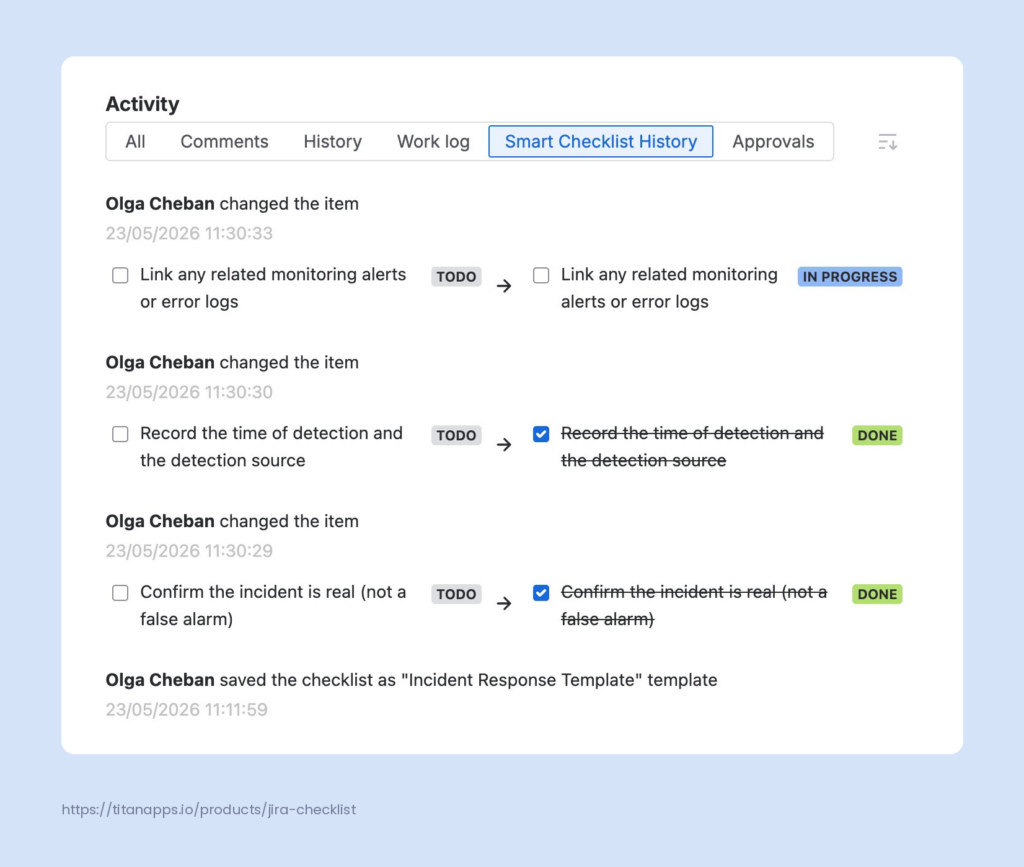
- Built-in audit trail. Smart Checklist keeps a clean record of every change in the Smart Checklist History tab. You can easily check who and when added or deleted checklist items, changed a status, added a template, and more. For regulatory requirements like SOC 2, ISO 27001, or industry-specific compliance, you have a clear record of what was done and when, attached directly to the incident ticket.
- Scalable process as your team grows. When your team is small, a Slack thread might be enough. As you grow, an incident management template provides a process that scales without requiring constant coordination from a single person.
- Reduced cognitive load during high-stress moments. During a critical incident, no one wants to think about what to do next. A clear, visible checklist lets responders focus on solving the problem instead of remembering the process.
The Incident Management Template: Step-by-Step Checklist
Our incident management template covers two main areas. The first is pre-incident readiness, which captures all the work you do before anything happens: policies, SLAs, team setup, escalation paths, and runbooks. The second is the incident response itself, structured by phase: detection, triage, response, and post-incident review.
Both checklists were created with Smart Checklist for Jira and can be easily added to Jira and Jira Service Management tickets. The solution supports both Cloud Instances and Jira Data Center.
The templates require periodic re-evaluation, usually once a year, to stay aligned with changes in your infrastructure, team, and processes.
Pre-Incident Readiness – Checklist Template
This checklist covers everything that should be in place before the first incident happens. Use it as a recurring readiness review with your incident response team.
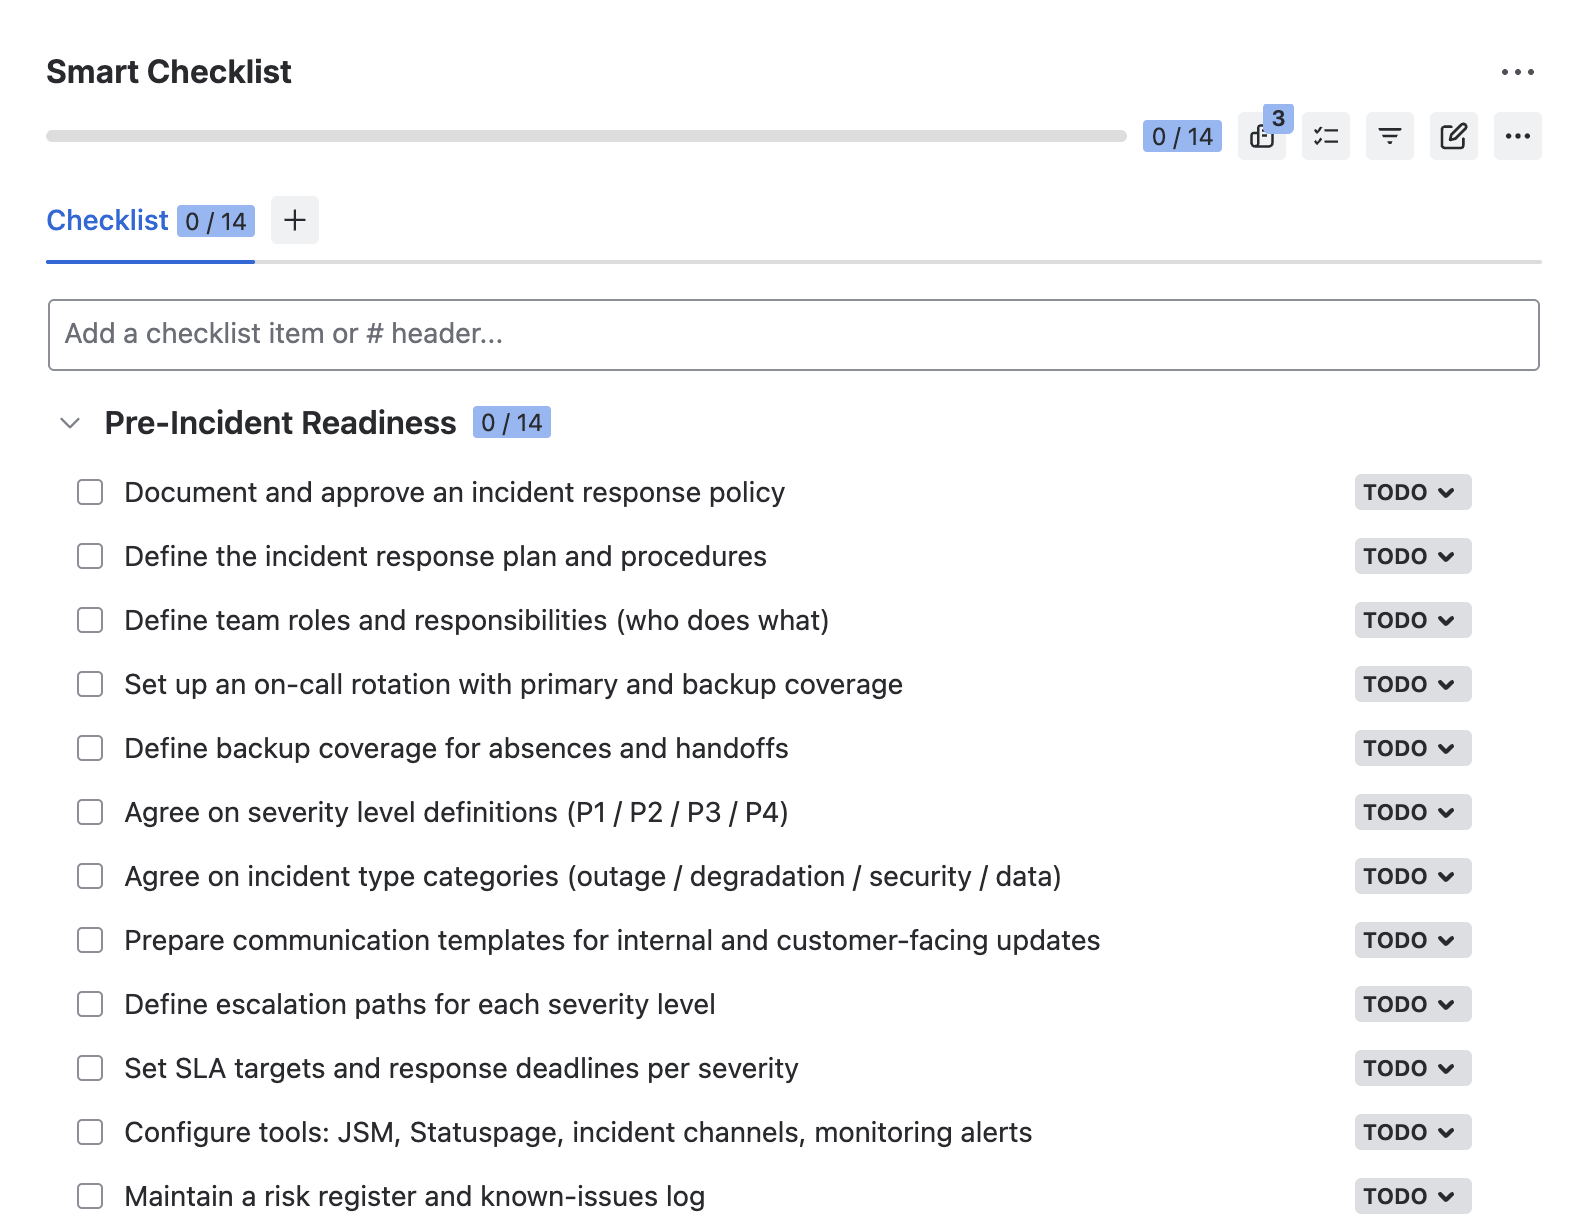
## Pre-Incident Readiness
- Document and approve an incident response policy
- Define the incident response plan and procedures
- Define team roles and responsibilities (who does what)
- Set up an on-call rotation with primary and backup coverage
- Define backup coverage for absences and handoffs
- Agree on severity level definitions (P1 - P5)
- Agree on incident type categories (outage / degradation / security / data)
- Prepare communication templates for internal and customer-facing updates
- Define escalation paths for each severity level
- Set SLA targets and response deadlines per severity
- Configure tools: JSM, Statuspage, incident channels, monitoring alerts
- Create and maintain a risk register and known-issues log
- Schedule regular incident response drills and training
- Create and maintain disaster recovery plans for key scenarios
## Pre-Incident Readiness
- Document and approve an incident response policy
- Define the incident response plan and procedures
- Define team roles and responsibilities (who does what)
- Set up an on-call rotation with primary and backup coverage
- Define backup coverage for absences and handoffs
- Agree on severity level definitions (P1 - P5)
- Agree on incident type categories (outage / degradation / security / data)
- Prepare communication templates for internal and customer-facing updates
- Define escalation paths for each severity level
- Set SLA targets and response deadlines per severity
- Configure tools: JSM, Statuspage, incident channels, monitoring alerts
- Create and maintain a risk register and known-issues log
- Schedule regular incident response drills and training
- Create and maintain disaster recovery plans for key scenarios
Incident Response – Checklist Template
This is the checklist your team uses during a live incident. It covers the four key phases of the response process: detection and logging, triage and prioritization, response and resolution, and post-incident review. If needed, you can add, remove, or rearrange steps to better reflect your own process.
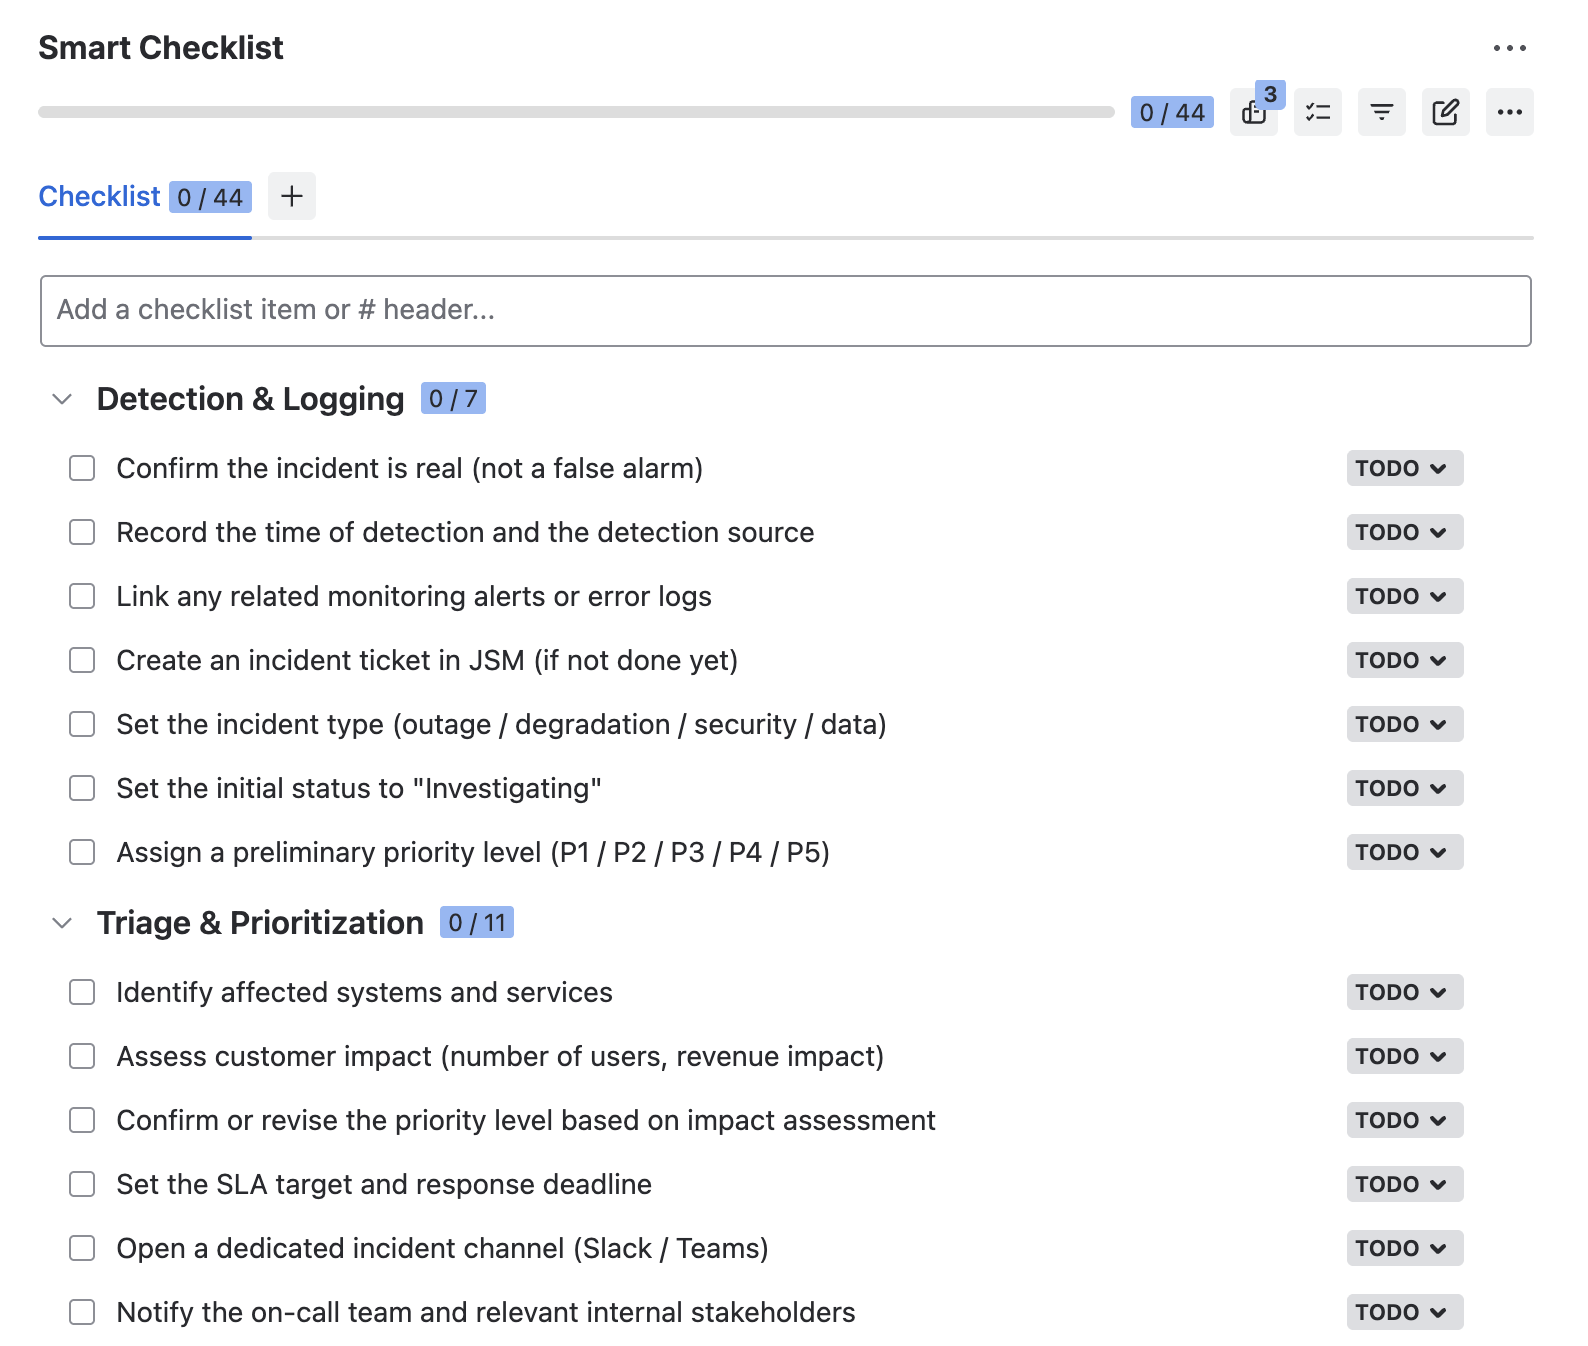
## Detection & Logging
- Confirm the incident is real (not a false alarm)
- Record the time of detection and the detection source
- Link any related monitoring alerts or error logs
- Create an incident ticket in JSM (if not done yet)
- Set the incident type (outage / degradation / security / data)
- Set the initial status to “Investigating”
- Assign a preliminary priority level (P1 / P2 / P3 / P4 / P5)
## Triage & Prioritization
- Identify affected systems and services
- Assess customer impact (number of users, revenue impact)
- Confirm or revise the priority level based on impact assessment
- Set the SLA target and response deadline
- Open a dedicated incident channel (Slack / Teams)
- Notify the on-call team and relevant internal stakeholders
- Assign a Technical Lead for investigation
- Notify executive leadership for P1 incidents
- Post a customer-facing update on Statuspage (if applicable)
- Link any related previous incidents or known issues
- Set a cadence for status updates (e.g., every 30 min for P1)
## Response & Resolution
- Begin root cause investigation
- Collect evidence (logs, metrics, screenshots, error traces)
- Document all findings and hypotheses in the ticket
- Update the incident channel with each status change
- Apply a temporary mitigation or workaround if available
- Escalate to senior engineers or vendors if needed
- Test the fix in staging (if applicable)
- Deploy the fix to production
- Confirm resolution with monitoring tools
- Set the status to “Resolved” and record the resolution time
- Send a resolution notification to all stakeholders
- Update Statuspage with resolution details
- Draft a customer-facing incident summary (for P1 / P2)
## Post-Incident Review (PIR)
- Schedule a PIR meeting within 48-72 hours of resolution
- Complete the incident timeline (detection to resolution)
- Document the root cause
- List contributing factors
- Record what went well
- Record what could have been better
- Document lessons learned
- Update the risk register with newly discovered risks or revised severity levels
- Define action items with owners and due dates
- Link action items to Jira issues for tracking
- Create a Problem ticket for root cause work (if applicable)
- Archive the PIR document in Confluence
- Close the incident ticket
## Detection & Logging
- Confirm the incident is real (not a false alarm)
- Record the time of detection and the detection source
- Link any related monitoring alerts or error logs
- Create an incident ticket in JSM (if not done yet)
- Set the incident type (outage / degradation / security / data)
- Set the initial status to “Investigating”
- Assign a preliminary priority level (P1 / P2 / P3 / P4 / P5)
## Triage & Prioritization
- Identify affected systems and services
- Assess customer impact (number of users, revenue impact)
- Confirm or revise the priority level based on impact assessment
- Set the SLA target and response deadline
- Open a dedicated incident channel (Slack / Teams)
- Notify the on-call team and relevant internal stakeholders
- Assign a Technical Lead for investigation
- Notify executive leadership for P1 incidents
- Post a customer-facing update on Statuspage (if applicable)
- Link any related previous incidents or known issues
- Set a cadence for status updates (e.g., every 30 min for P1)
## Response & Resolution
- Begin root cause investigation
- Collect evidence (logs, metrics, screenshots, error traces)
- Document all findings and hypotheses in the ticket
- Update the incident channel with each status change
- Apply a temporary mitigation or workaround if available
- Escalate to senior engineers or vendors if needed
- Test the fix in staging (if applicable)
- Deploy the fix to production
- Confirm resolution with monitoring tools
- Set the status to “Resolved” and record the resolution time
- Send a resolution notification to all stakeholders
- Update Statuspage with resolution details
- Draft a customer-facing incident summary (for P1 / P2)
## Post-Incident Review (PIR)
- Schedule a PIR meeting within 48-72 hours of resolution
- Complete the incident timeline (detection to resolution)
- Document the root cause
- List contributing factors
- Record what went well
- Record what could have been better
- Document lessons learned
- Update the risk register with newly discovered risks or revised severity levels
- Define action items with owners and due dates
- Link action items to Jira issues for tracking
- Create a Problem ticket for root cause work (if applicable)
- Archive the PIR document in Confluence
- Close the incident ticket
These checklists give your team a complete playbook for handling incidents end to end: a documented, repeatable response process that runs the same way every time.
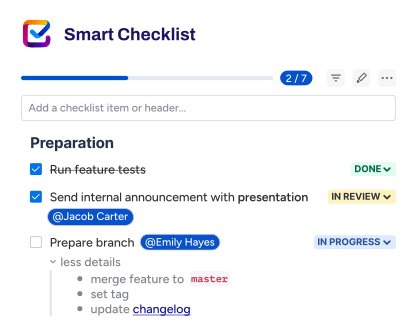
To organize this process even more efficiently, Smart Checklist offers a range of useful features:
- Tag team members directly in checklist items
- Set due dates on individual steps
- Group related steps under headers
- Use custom statuses for each step – beyond just done/not done
- Add expandable item details for extra context
- Show checklist progress on the JSM customer portal so that customers can see it
- Search across checklists with JQL
- Automatically add checklists to all Incident tickets
Together, these features turn a static checklist into a live, collaborative tool that adapts to how your team actually works during an incident.
How to Use This Checklist in Jira as a Template
Using this incident management template in Jira takes only a few preparation steps.
- Install Smart Checklist for Jira from the Atlassian Marketplace.
- Add the checklist to a Jira work item: Open the work item, find the Smart Checklist section, and paste the markdown from the section above. The formatting renders automatically.
- Save the checklist as a template. Open the Smart Checklist menu, click the three dots, and select Save as a template. You can save it as a project template or make it global so other Jira projects can use it too.
- Mark critical steps as mandatory (optional). You can also set up a workflow validator – then, the ticket can’t be moved to Closed until all mandatory steps are Done.
Pro tip: Create a linked template that stays in sync across all incident work items. When you update the master template, every linked instance reflects the change automatically. This is useful when your incident response process evolves, and you want every team to follow the latest version.
How to Automatically Add Checklists to Jira Tickets
Manually adding the checklist to every new incident ticket is tedious, and during a real incident, every second counts. Smart Checklist has native automation features that handle this for you, so you don’t need to configure any Automation for Jira rules.
Once your incident management template is saved, you can set it as the default for the Incident work item type in your project. From that point on, every new Incident ticket opens with the full checklist already inside it, ready to go.
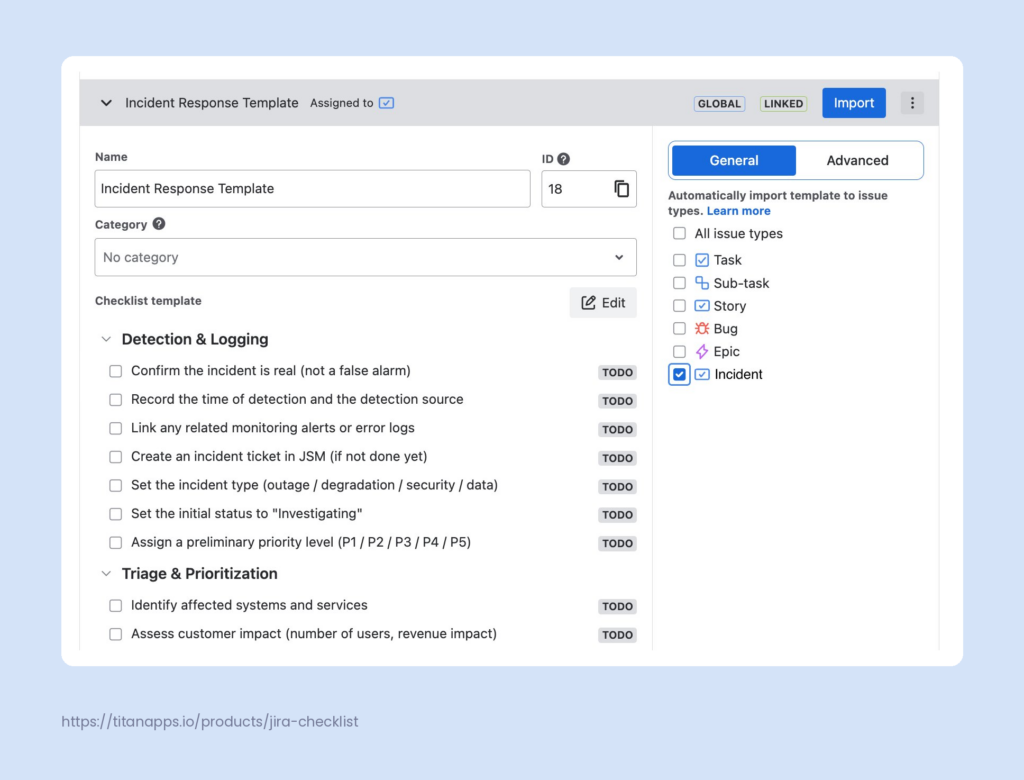
Additionally, in the Advanced settings, you can select various other conditions for adding checklists automatically. All automations can be set up from Smart Checklist’s Template Management menu.
What Your Team Gains from Using Smart Checklist for Incident Management
- Make your incident response plan actionable. Each phase becomes a list of concrete steps your team works through during the incident.
- Keep critical work visible. Track progress at the level of individual checklist items, not just at the ticket status level. Everyone can see exactly what’s been done.
- Standardize across teams. When IT teams, security teams, and SRE all use the same incident management template, the response process becomes predictable across the company.
- Reduce frustration during high-stress incidents. A clear, visible playbook is one less thing for responders to worry about.
- Maintain compliance evidence. Every completed checklist step becomes part of the audit trail for your incident handling process. Smart Checklist records every change in the Smart Checklist History tab.
Beyond the Incident Management Template: 6 Tips to Run the Process Efficiently
- Keep all incidents ticket-based. Verbal updates and Slack messages disappear quickly, while tickets stay searchable and auditable. Every incident, even small ones, should have its own ticket.
- Build a blameless postmortem culture. The PIR should focus on systems and processes, not people. When team members aren’t afraid of blame, they share more accurate information about what happened. This leads to better fixes and greater continuous improvement over time.
- Keep plans current. A runbook that reflects last year’s infrastructure is worse than no runbook. There should be a person responsible for keeping all your incident management documentation up to date, including your incident management template.
- Enforce the process with mandatory checklist items. Don’t leave PIR completion optional. Mark it as mandatory. The same goes for severity assignment, incident commander assignment, and customer-facing notification steps.
- Run regular tabletop drills. This is a mandatory requirement for running an effective incident management process. At least once a year, run a tabletop or simulation exercise to test edge cases. Walk through scenarios like a major outage, a data breach, or a vendor failure with your team and identify gaps in your process while the stakes are low. Use these drills to validate your disaster recovery plans, too.
- Track the key metrics. If you’re not measuring your incident management process, it can be harder to improve it. For example, you can use the collected data to decide whether you need more people on the incident response team or stronger monitoring techniques.
What Metrics Do You Need to Track in Incident Management?
- SLA compliance. Tracks whether your team is meeting its response and resolution targets. This is critical, since fines for missed SLAs can be very high, especially in regulated industries.
- MTTD (Mean Time to Detect). Average time between when an incident starts and when your team becomes aware of it. A high MTTD usually points to gaps in monitoring or alerting.
- MTTA (Mean Time to Acknowledge). Average time from when an alert fires to when a responder acknowledges it. This shows how well your on-call rotation and notification systems work.
- MTTR (Mean Time to Resolve). Average time from incident detection to full resolution. The single most useful metric for the overall health of your response process.
- Incident volume by severity. Number of incidents per period, broken down by severity level. Trends here help you spot whether your systems are getting more or less stable.
- First-contact resolution rate. Share of incidents resolved by the first responder without escalation. Useful for service desk and Tier 1 support performance.
- Time to resolution by severity. The same metric as MTTR, but broken down by P1-P5. It helps confirm that higher-severity incidents are being handled faster than lower-severity ones, as they should be.
- Repeat incident rate. Share of incidents that look very similar to past incidents. A high repeat rate is a red flag: it means lessons learned and follow-up actions aren’t actually being implemented.
Incident Management Template FAQ
What is a blameless postmortem?
A blameless postmortem is a post-incident review focused on systems, processes, and decisions rather than on individual mistakes. The goal is to create an environment where team members can share what actually happened without fear of consequences. This leads to more accurate information, better lessons learned, and stronger preventive measures for future incidents.
How do you run a post-incident review in Jira?
Set up automation in JSM to create a PIR work item automatically when an incident ticket is closed. The PIR ticket should include a standard set of questions in its description: what happened, the root cause, what went well, what could have been better, and the action items that follow. Schedule the PIR meeting within 48-72 hours of resolution, document the outcomes in the ticket, and link any follow-up Jira issues to it for tracking.
What are the key incident types?
Most teams categorize incidents into a few main types:
- Outages – a service is fully unavailable
- Degradations – a service is partially working but slow or unreliable
- Security incidents – unauthorized access, malware, data exposure, or other information security events
- Data incidents – data loss, corruption, or integrity issues.
Some teams also separate cybersecurity incidents into their own category, with stricter handling rules due to regulatory requirements and the involvement of law enforcement when needed.
What is the severity and priority framework?
Severity and priority are two related but distinct ways to classify incidents. Severity measures the technical impact: how much of the system is affected. Priority measures how urgently the incident needs to be handled, which often combines severity with business context.
Many teams use a P1 to P5 scale (JSM’s default), where P1 is a critical incident with full service impact, and P5 is a minor issue with no immediate business impact. Each level has its own SLA targets, escalation paths, and notification rules.
What are the key roles for incident management?
The core roles on an incident response team usually include:
- Incident Commander – owns coordination and decision-making
- Technical Lead – owns the investigation and fix
- Communications Lead – handles internal and external communications
- Scribe – documents the timeline and decisions.
On smaller teams, one person may hold multiple roles. The key is that every role has clear contact information, a backup owner, and documented responsibilities in place before the next incident occurs.
When should you use an incident management template versus a runbook?
These two work together. An incident management template covers the full lifecycle of any incident: how to detect, triage, respond, and review. A runbook is a more specific document that covers exactly how to fix a known issue, such as restarting a specific service or rotating a credential.
During an incident, the checklist tells you which phase you’re in, and the runbook tells you the exact commands to run for the specific systems affected. According to Atlassian, “With runbooks, your staff has all the information they need to quickly triage an incident, right at their fingertips. In many cases, teams can reduce incident resolution times by 40%.”
What is NIST SP 800-61, and how does it relate to incident management?
NIST SP 800-61 is a publication from the U.S. National Institute of Standards and Technology on cybersecurity incident handling. The current revision (Rev. 3, April 2025) aligns incident response with the NIST Cybersecurity Framework (CSF) 2.0. The earlier Rev. 2 four-phase model (preparation; detection and analysis; containment, eradication, and recovery; post-incident activity) is still widely referenced in practice. The incident management template in this article works well with either approach and remains practical for day-to-day use in Jira.
How often should you update your incident management template?
At least once a year, and after every major change to your infrastructure, tool stack, or incident response team. You should also review the template after any significant incident, since real incidents often reveal gaps that no tabletop exercise would have caught. Treat your incident management template as a living document, not a one-time setup.
For more tips and useful templates, please see our other articles:
- Compliance audit template for Jira
- Jira change management template
- Ticket triage and prioritization checklist